How to Install And Configure Snort NIDS on CentOS 8
There are several NIDS (Network Intrusion Detection System) available in the market including, Suricata, Bro, OSSEC and Security Onion. Among them, Snort is a free, open-source and one of the most popular network intrusion detection system that is capable of monitoring the package data sent and received through a specific network interface. Snort works by targeting your system vulnerabilities using signature-based detection, real-time traffic analysis and protocol analysis technologies. With Snort, you can detect malicious activity, denial of service attacks, malware infections, compromised systems, and network policy violations. It can be run on several operating systems including, Linux, Windows and macOS.
In this tutorial, we will show you how to install Snort NIDS from source on CentOS 8 server.
Requirements
- A server running CentOS 8 server with a minimum 4 GB RAM.
- A root password is configured on your server.
Getting Started
Before starting, you will need to add EPEL and PowerTools repo in your system as some development packages required for Snort compilation process are not available in the CentOS 8 default repository.
First, install the EPEL repository with the following command:
dnf install epel-release -y
Once installed, you can install the PowerTools repo with the following command:
dnf config-manager --add-repo /etc/yum.repos.d/CentOS-PowerTools.repo
dnf config-manager --set-enabled PowerTools
Once both repos are enabled, upgrade all the packages using the following command:
dnf upgrade -y
Once your system is up-to-date, restart it to apply all the changes.
Install Required Dependencies
Next, you will need to install some compilation packages and build some packages that are not available in the CentOS default repository.
First, install all the required packages from the CentOS repository with the following command:
dnf install flex bison gcc gcc-c++ make cmake autoconf libtool git nano unzip wget libpcap-devel pcre-devel libdnet-devel hwloc-devel openssl-devel zlib-devel luajit-devel pkgconfig libnfnetlink-devel libnetfilter_queue-devel libmnl-devel -y
Once all the packages are installed, you will need to download LibDAQ from the Git repository and compile it from the downloaded source.
First, download the LibDAQ source with the following command:
git clone https://github.com/snort3/libdaq.git
Once downloaded, change the directory to libdaq and generate the configuration script with the following command:
cd libdaq
./bootstrap
Next, configure the LibDAQ with the following command:
./configure
Finally, install the LibDAQ with the following command:
make
make install
At this point, all the required dependencies have been installed. You can now proceed to the next step.
Install Snort
At the time of writing this tutorial, the latest version of the Snort is Snort 3. You can download it from the Git repository with the following command:
git clone https://github.com/snort3/snort3.git
Once the download is completed, change the directory to snort3 and export the PKG_CONFIG_PATH to include the LibDAQ pkgconfig path.
cd snort3
export PKG_CONFIG_PATH=/usr/local/lib/pkgconfig:$PKG_CONFIG_PATH
export PKG_CONFIG_PATH=/usr/local/lib64/pkgconfig:$PKG_CONFIG_PATH
Next, configure the Snort3 with the following command:
./configure_cmake.sh --prefix=/usr/local/snort
Next, install the Snort3 with the following command:
cd build/
make -j$(nproc)
make -j$(nproc) install
Next, update the shared libraries with the following command:
ldconfig
Next, create a symlink to the Snort binary:
ln -s /usr/local/snort/bin/snort /usr/sbin/snort
Next, verify the Snort3 installation with the following command:
/usr/local/snort/bin/snort -V
Or
snort -V
You should get the following output: 
Configure Snort
In this section, we will configure Snort for Packet Logger Mode. In this mode, the output will get logged to the disk, which can be monitored later on.
To do so, open the Snort default configuration file:
nano /usr/local/snort/etc/snort/snort.lua
Change the HOME_NET address with the addresses that you want to protect:
HOME_NET = 'your-server-ip/24'
Next, enable the Snort3 community rules:
include = 'snort3-community.rules'
Next, enable the alert_fast plugins to log the output to the specified directory.
To do so, find the following line:
--alert_fast = { }
And replace it with the following line:
alert_fast = { file = true }
Save and close the file when you are finished. Next, create a log directory for Snort with the following command:
mkdir /var/log/snort
Next, download the Snort3 community rules with the following command:
cd root
wget https://snort.org/downloads/community/snort3-community-rules.tar.gz -O community-rules.tar.gz
Once downloaded, extract it with the following command:
tar -xvzf community-rules.tar.gz
Next, copy the Snort3 community rules file to the /usr/local/snort/etc/snort/ directory:
cp snort3-community-rules/snort3-community.rules /usr/local/snort/etc/snort/
Finally, validate the Snort configuration with the following command:
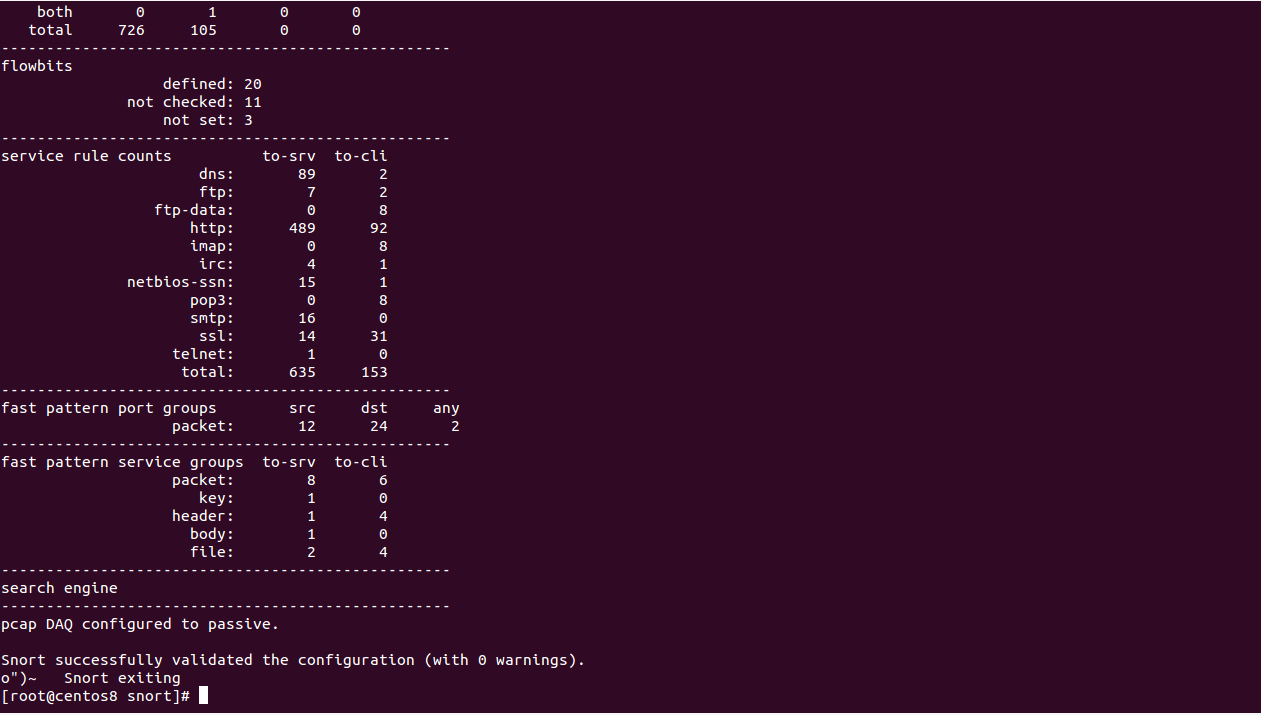
snort -T -c /usr/local/snort/etc/snort/snort.lua
If everything goes fine, you should see the following screen:

Test Snort
At this point, Snort is installed and configured. It's time to test Snort whether it is logging alerts or not.
To test it, open the Snort3 community rules file:
nano /usr/local/snort/etc/snort/snort3-community.rules
Add the following rules at the end of the file:
alert icmp any any -> $HOME_NET any (msg:"ICMP connection attempt"; sid:1000002; rev:1;)
alert tcp any any -> $HOME_NET 80 (msg:"TELNET connection attempt"; sid:1000003; rev:1;)
Save and close the file when you are finished.
The above rules monitor the traffic, matching the rule and alert you via log if someone tries to Ping or Telnet to your server.
Next, you will need to start the Snort in Packet Logger Mode, enable alert_fast plugin and specify the location of the log file.
You can run the Snort with required parameters as shown below:
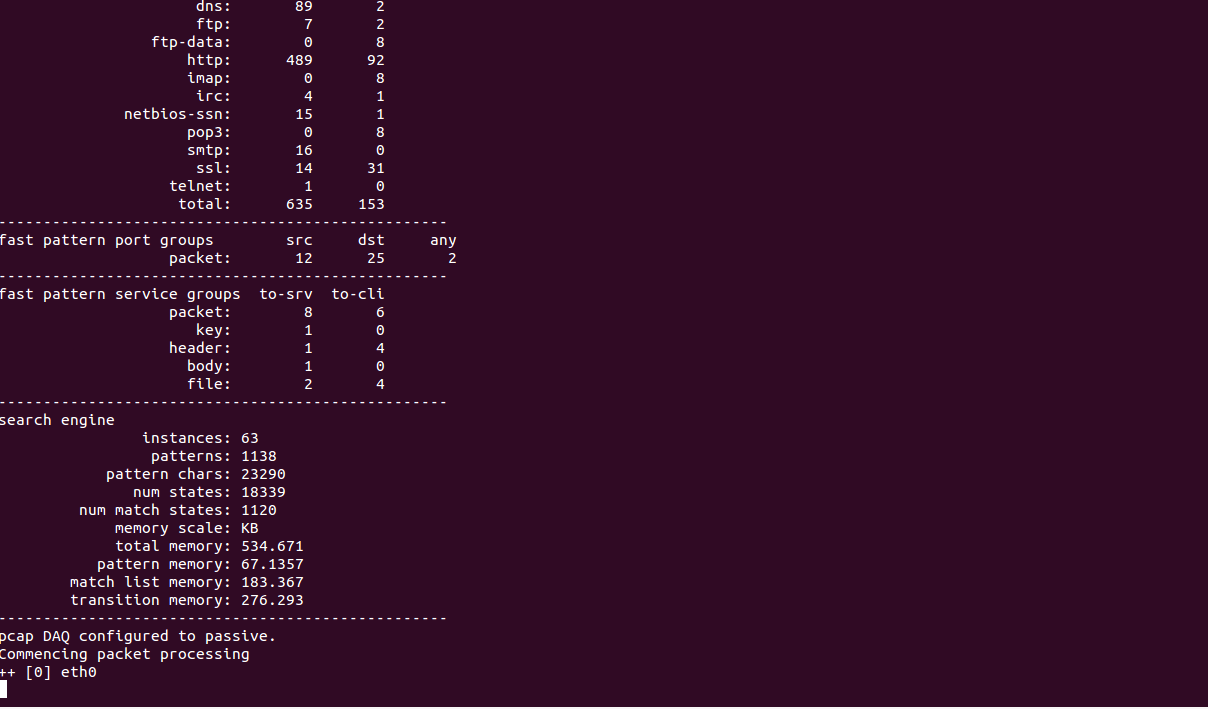
snort -c /usr/local/snort/etc/snort/snort.lua -i eth0 -A alert_fast -l /var/log/snort/
You should see the following screen:

Next, log in to the other system and try to Ping and Telnet to your server as shown below:
ping your-server-ip
telnet your-server-ip 80
Next, go to the Snort server and check the Snort log file with the following command:
tail -f /var/log/snort/alert_fast.txt
You should see a notice for each ICMP and TELNET connection in the following output:
01/19-07:00:49.633440 [**] [1:1000003:1] "TELNET connection attempt" [**] [Priority: 0] {TCP} 103.250.163.146:3684 -> 104.245.36.109:80
01/19-07:00:52.241865 [**] [1:1000003:1] "TELNET connection attempt" [**] [Priority: 0] {TCP} 103.250.163.146:5264 -> 104.245.36.109:80
01/19-07:00:52.518305 [**] [1:1000003:1] "TELNET connection attempt" [**] [Priority: 0] {TCP} 103.250.163.146:5264 -> 104.245.36.109:80
01/19-07:00:55.070629 [**] [1:1000003:1] "TELNET connection attempt" [**] [Priority: 0] {TCP} 103.250.163.146:5264 -> 104.245.36.109:80
01/19-07:01:02.180868 [**] [1:1000002:1] "ICMP connection attempt" [**] [Priority: 0] {ICMP} 103.250.163.146 -> 104.245.36.109
01/19-07:01:03.182423 [**] [1:1000002:1] "ICMP connection attempt" [**] [Priority: 0] {ICMP} 103.250.163.146 -> 104.245.36.109
01/19-07:01:04.184146 [**] [1:1000002:1] "ICMP connection attempt" [**] [Priority: 0] {ICMP} 103.250.163.146 -> 104.245.36.109
01/19-07:01:05.186042 [**] [1:1000002:1] "ICMP connection attempt" [**] [Priority: 0] {ICMP} 103.250.163.146 -> 104.245.36.109
01/19-07:01:06.187167 [**] [1:1000002:1] "ICMP connection attempt" [**] [Priority: 0] {ICMP} 103.250.163.146 -> 104.245.36.109
01/19-07:01:07.188828 [**] [1:1000002:1] "ICMP connection attempt" [**] [Priority: 0] {ICMP} 103.250.163.146 -> 104.245.36.109
After testing, you can stop Snort with Ctrl+C.
Conclusion
Congratulations! you have successfully installed and configured Snort3 on CentOS 8.